This post documents the process of putting SATA hard disks into older 1U servers. At first, I thought it would be quick and easy but I will share some of the pitfalls I experienced along the way.
I acquired a pair of x330 servers this summer, basically missing only the CPUs and heatsinks. CPUs were not difficult to obtain, but it did take some trial and error to get correctly oriented passive heatsinks. Before putting these into service, I took the opportunity to bring some much needed larger NAS online for the home network by adding some large SATA drives.
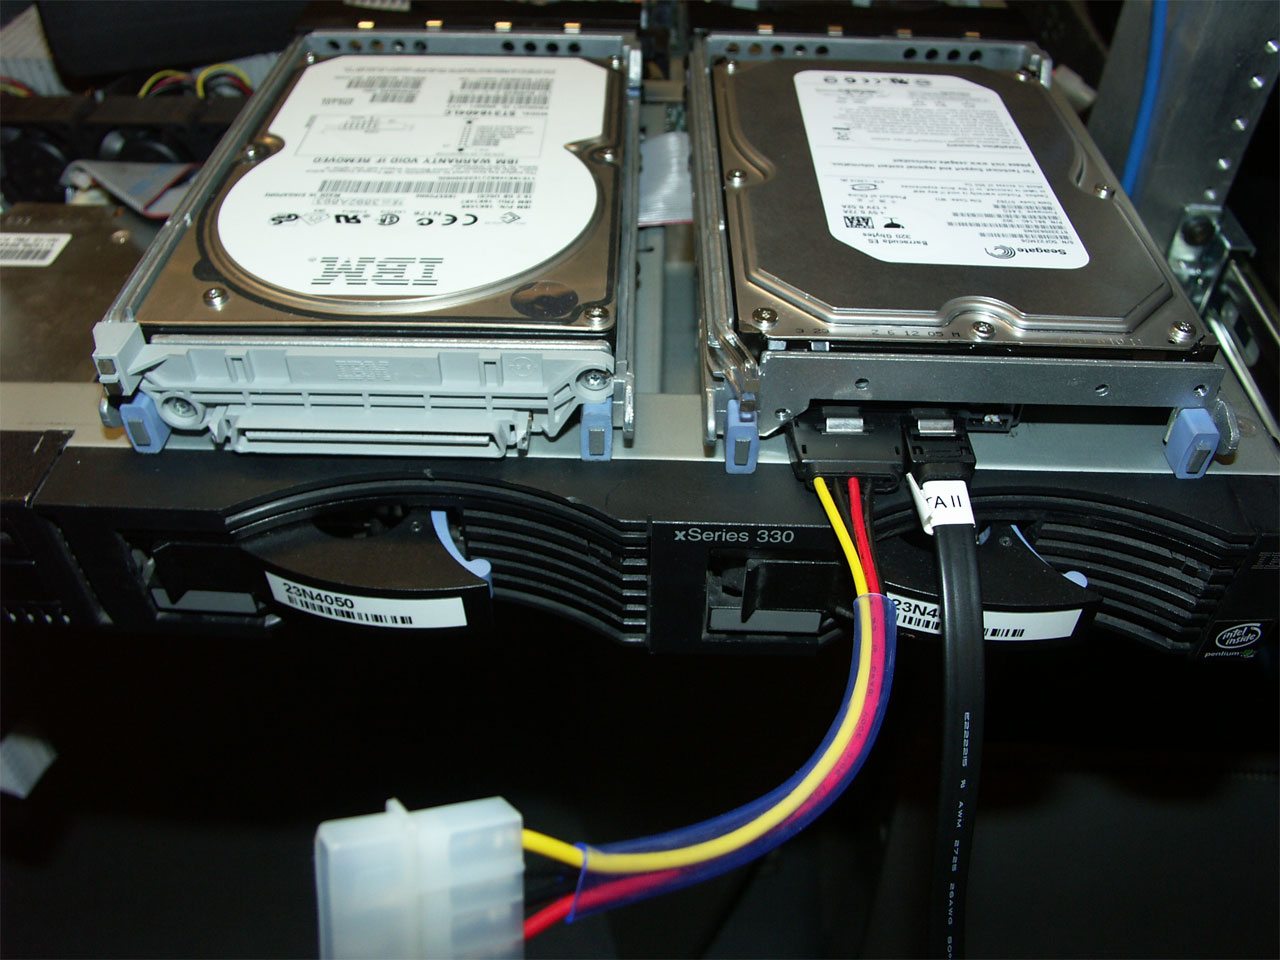
After buying a good set of drives and a controller, I started running into some snags. The most obvious was the lack of standard 5v/12v accessory power. The x330 has a 24-pin header that provides power to the SCSI backplane. Using a multi-meter, I was able to locate the necessary contacts. If your server lacks molex power connectors as well, you will need to trace these down. My best advice is to triple check your readings and use an older drive to test the connection before you hook up your new drives. Nothing like all that work, followed by a puff of the magic black smoke flying out of your new drives :). The right eight pins are the ones we want.

To make a nice cable, you will need a Molex 43025-2400 connector and 4 to 8 pins. While I waited for mine to come in, I just pressed a power cable wire by wire into the connections to make contact.

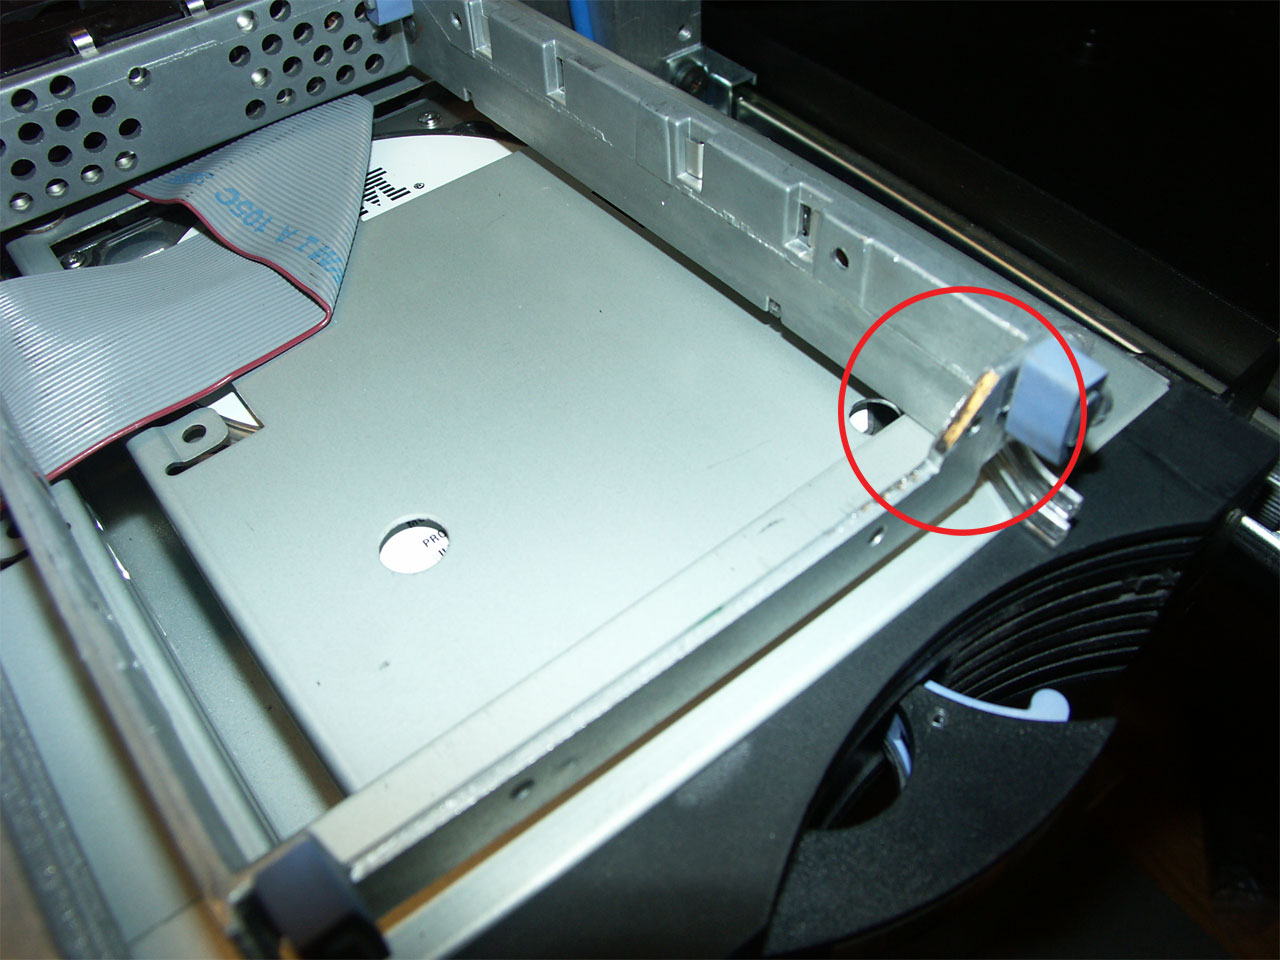
The next potential point of struggle is getting the drives mounted in the trays. The x330 trays have a plastic SCSI SCA pass through on the end. These were held on with a pair of security Torx screws, so you may need to get creative if you do not have the correct bit. The drives fit nicely at this point, but the SATA power connection was blocked by a metal corner of the tray. A quick bit of work with a file fixed this.
Pull the old hotswap backplane and cable up the new drives. At this point you should power on and see how it goes. Hopefully you wired the power cable correctly.
Now your server is capable of accepting inexpensive, high capacity SATA drives! The basic process should be the same for any 1U server lacking power connectors, though you may need to dig deeper to get to the 5v/12v source (power supply is a surefire bet).
Comments
comments powered by Disqus